Introduction

Our submission for the rendering competition of the WS23/24 iteration of Computer Graphics I at Saarland University is called "Frontière Rouge". It was assembled in Blender and rendered in our fork of the Lightwave renderer called Haytham, named after the medieval Arab father of modern optics, Ibn al-Haytham.

This year's competition theme is Journey to the Unknown. For a human to step onto Mars is one of the great shared ambitions of our time. The red planet has been a source of wonder for centuries, and year by year, we come closer to reaching our mysterious neighbor. The journey to Mars is a journey to the unknown not only because of the largely unexplored environment of the planet but also because of the scientific and engineering challenges that come with the journey itself. It is thus a journey not only in terms of distance but also in terms of knowledge gained along the path of its realization.

For us, the realization of this rendering competition was a journey through the unknown. Along the way, we learned a lot about physically based rendering, the challenges of implementing a renderer, and the many ways in which we can use Blender to create beautiful and realistic scenes. Memorable journeys are seldom without difficulties but always full of special moments; in this regard, our journey was no exception.

Thus, in the following section, we will present the features of our renderer and the challenges we faced along the way.

Features & Challenges

Some of you who read this might also be on a journey to implement your own renderer, either here at Saarland University or elsewhere. We would like to share some of the challenges we faced along the way, so that you might be better prepared for your own journey. These challenges are best illustrated by the features we implemented in our renderer that went mostly beyond the scope of the course. We hope that you will find our experiences helpful and appreciate the visual results we achieved with our renderer.

- Andrea Camiletto and Christian Singer

Thin Lens Camera

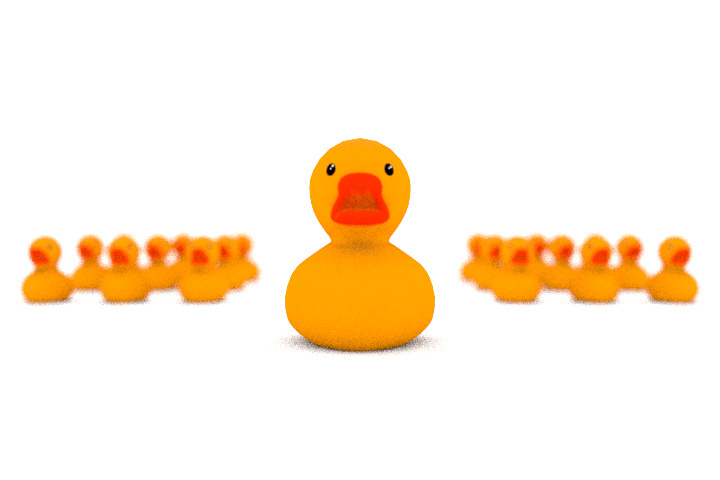
The thin lens camera is one of the simplest camera models. In contrast to the pinhole model, it can already simulate depth of field effects, adding much realism to a scene.

One of the challenges with camera models is that making them even more realistic requires an exponential amount of effort. We tried to implement the realistic camera model from PBRT, but we had to give up on it because of the time constraints of the course. The thin-lens camera is a good compromise between realism and effort.
Area Lights

Area lights are a way to use shapes as light sources, which can bring benefits in terms of more realistic shadows and noise reduction. The sun reflected on the astronaut's helmet is a spherical area light.

Our naive implementation of spherical area lights consisted of sampling random points on the sphere, which resulted in a lot of noise, as half of the samples are usually on the nonvisible hemisphere. We then implemented cosine hemisphere-based importance sampling, which improved the quality of the images by a lot.

Halton Sampler

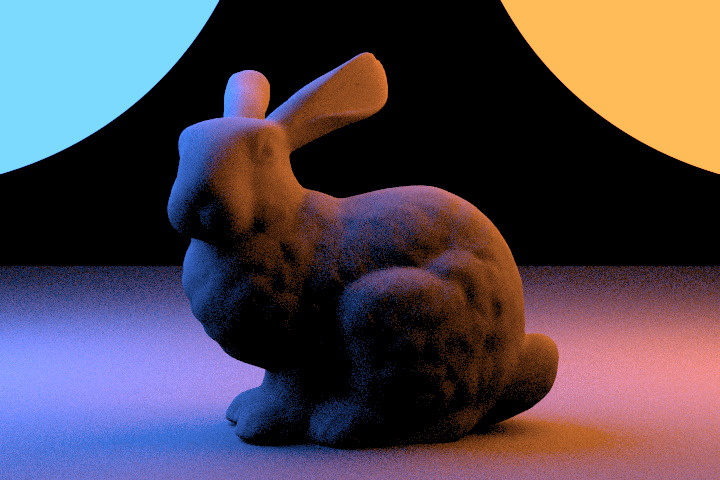
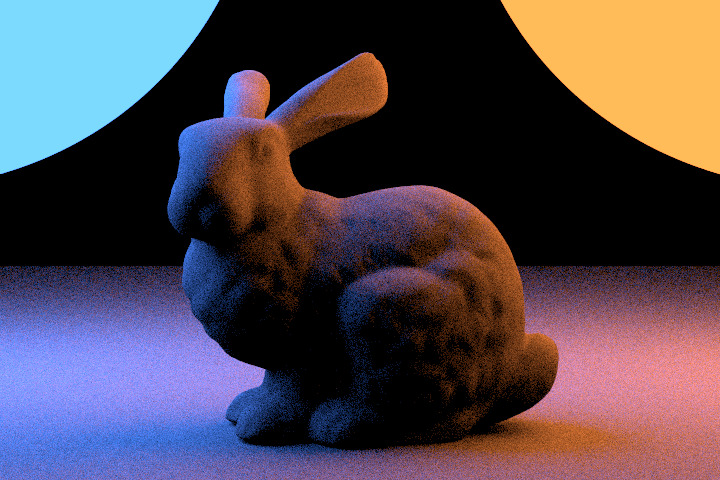
To reduce noise in Monte-Carlo methods on which realistic rendering algorithms are based, one can improve upon random sampling by using low discrepancy sequences, i.e., sequences that look uniformly distributed. Of these sequences, the Halton sequence is one of the most popular. If you want to see for yourself how much better it is than random sampling, you can play around with this simulation made by one of the authors using Julia.

One issue with low discrepancy sequences is that they are not independent, which can lead to aliasing artifacts in the image. By adding random offsets to the sequence generated for each pixel, we reduced these artifacts to the point where they are not perceivable anymore.

Image Denoising

Using Intel's Open Image Denoise library, which is based on Deep Learning and uses different aspects of the scene , such as the albedos and normals to denoise a rendered image. We were able to essentially eliminate all noise in our final rendering, which is very helpful due to the quadratic relationship between the quality of the rendering and the number of samples that need to be used. Image denoising can get rid of NaN values, of which there are quite a lot in our unprocessed submission.

While the library itself is easily integrated into Lightwave, there are some pitfalls when it comes to installing it properly. In our case, the library was not added to the PATH variable, which caused the renderer to crash when trying to use it.

Tone Mapping

Some scenes are taken under circumstances where the dynamic range is much higher than the dynamic range of the display used to view the scene. To make the scene viewable on the display, the scene's dynamic range must be compressed. This process is called tone mapping. We implemented the Drago tone mapping operator, a global tone mapping operator based on the logarithm of the pixel values and a bias term that we learnt about in the course "Advanced Image Analysis" at Saaarland University.

Although implementing the tone mapping operator itself was relatively easy, adapting the scene to benefit from the tone mapping turned out to make the scene not look good with realism. Thus, in the end, we decided not to use it.

Normal Mapping

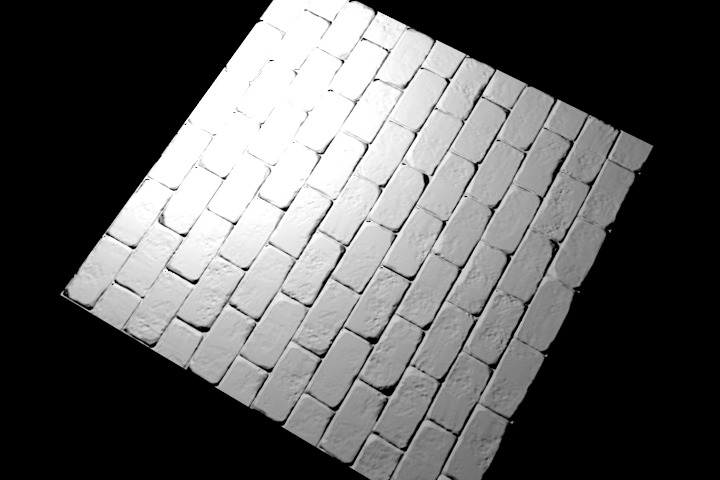
Surface normals are an important aspect of calculating shading. Using a position-dependent normal can add an impression of surface detail to a model without changing the model's geometry, thus adding only a little extra computation time. This is called normal mapping. Normal maps give more detail to the stones scattered around in the scene.

Add & Mix Materials

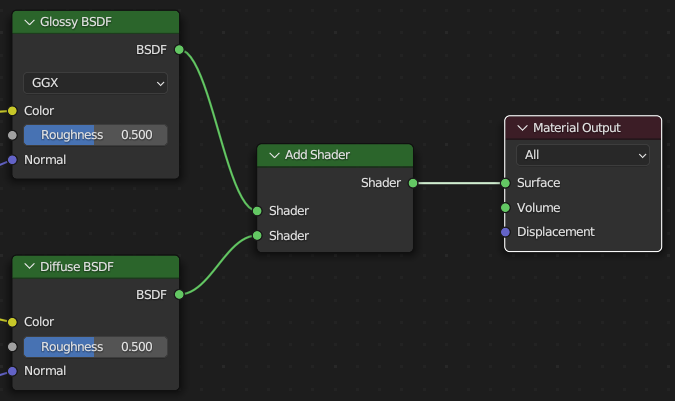
Unfortunately, the Lightwave renderer does not support all materials like the common AddShader and MixShader.
Although, in many cases, it is possible to work around this issue by rephrasing everything in a Principled BSDF material, the results differ from what the artist intended.

The main issue in doing this is the lack of documentation on the exporter plugin: there is no mention that the alpha channel the image texture is not exported, and the typing hints are only available here and there. Nonetheless the support from the creators of the plugin was very helpful and we encourage future students to modify the plugin to their needs so you can use as much as possible of the Blender features.

Sources

  1. PHARR,M.,AND HUMPHREYS,G. Physically-based ray tracing. http://www.pbrt.org/.
  2. Áfra, Attila T. (2023). Intel® Open Image Denoise. Retrieved from https://www.openimagedenoise.org/.
  3. Peter, Pascal Tobias. Advanced Image Analysis WS22/23 Saarland University Lecutre 4
  4. Tutorial - Mars Rover Tracks & Dust Animation in Blender 3.0 - Kaizen